Have you ever made a really nice craft yet every single photo you took made it look BLAH. My camera seems to misrepresent the colors. I do a lot of paper crafts and having the correct color show up can be important. I would eventually LOVE to get a professional camera, but for now I found a much cheaper alternative!
Photography Light Boxes/Tents have been selling like crazy on
Tophatter and
Amazon for upwards of FIFTY bucks. After a little Googling and some help from
Digital Photography School, I created my own :)
I used:
1.) Box from Walmart (14x14x14) = $0.68
2.) White Fabric (1 yard) = $2.97 Walmart
3.) Box Cutter = $1.00 Dollar Tree
4.) Tape = $1.00
5.) Poster Board = $.50 Dollar Tree
Grand Total: $6.13
Step 1:
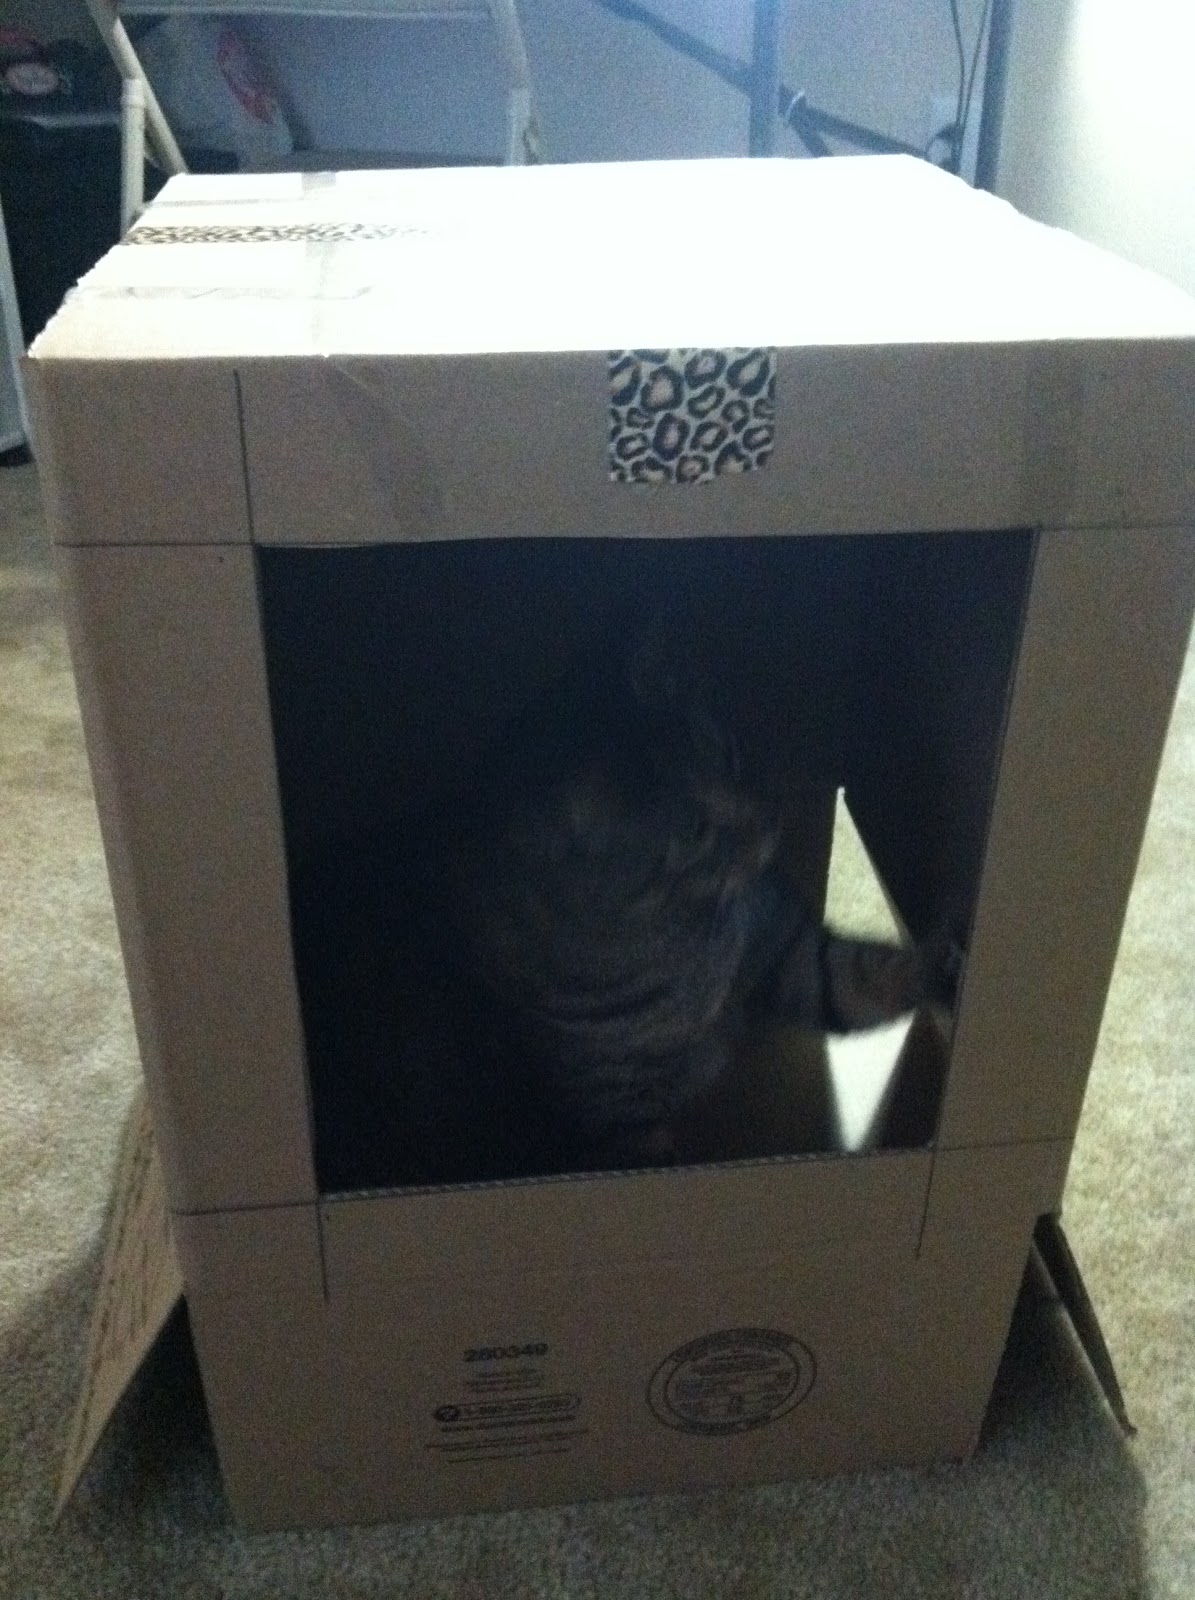
Cut the sides out of your box except for the back and the bottom.
I had to tape the bottom of my box shut since I bought a box.
This is not a required step, but my cat loves boxes.
My dollar box cutter worked wonderfully!
Cut the flaps off of your box so that the top is open.
I cut the back out of mine, but its going to be covered with posterboard so you can leave it.
Wrap your box with your white fabric to cover all of your windows with white.
You put your item in the bottom and shine your light through the top or the side to reduce the ugly glare
Line the back with a piece of white posterboard. Cut it extra long so it curves from the back to the front. Do not crease it. This provides a solid white background for your items.
My boxcutter for example :)


No comments:
Post a Comment